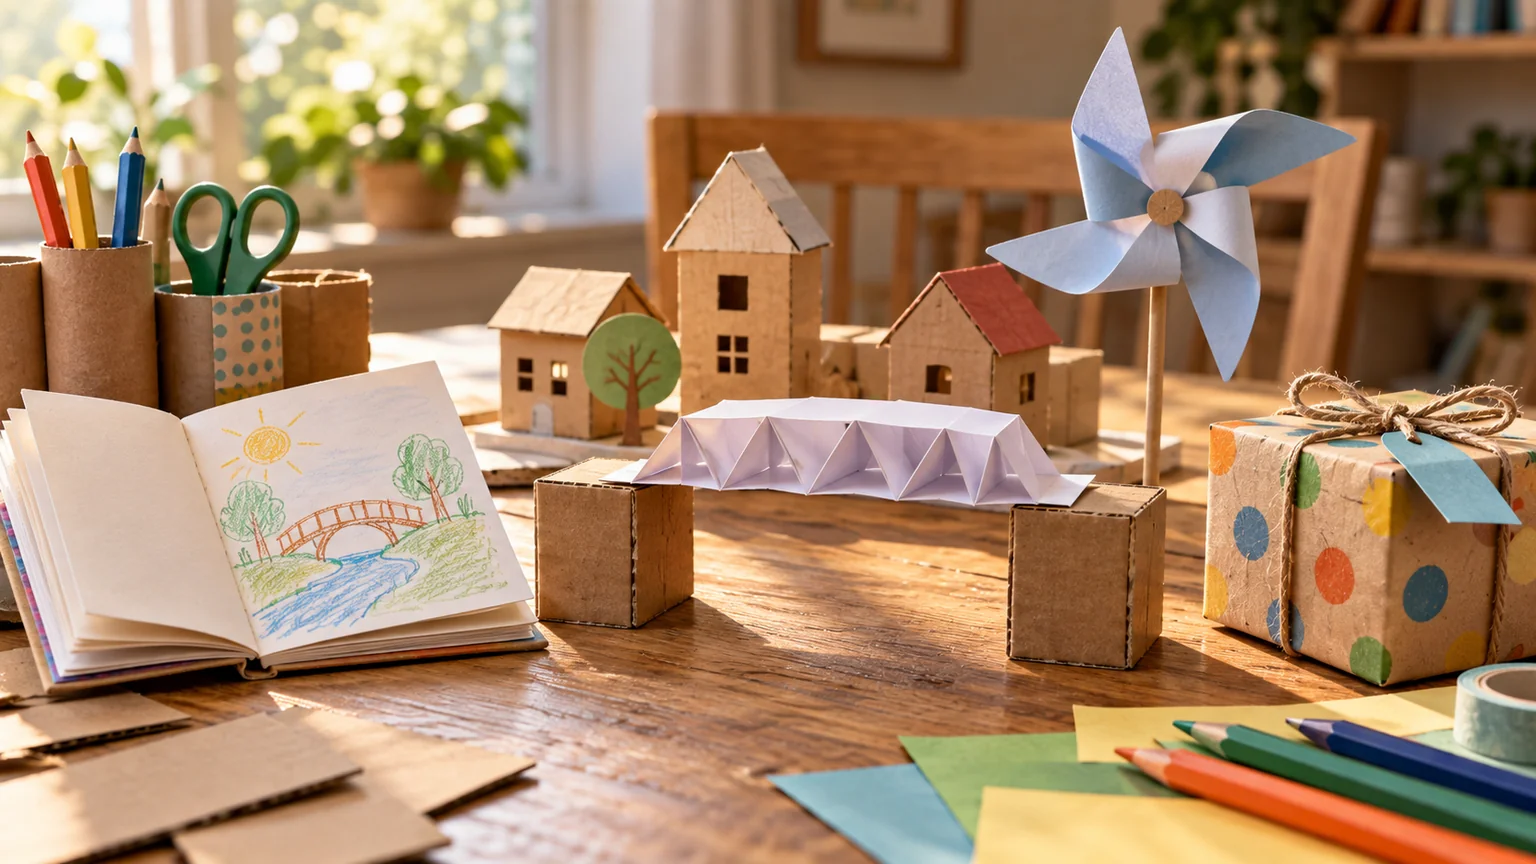
This challenge is an invitation to make something together for a little while. It is not a competition to produce thirty polished objects.
The month moves from paper experiments to useful objects and a final project to share. You can repeat a favorite day, skip a material that does not suit your household, or spread the activities over a season.
The interactive challenge saves completed days in this browser. A printed copy works just as well.
Set up for an easy beginning
Start with paper, clean cardboard, pencils, tape, and age-appropriate scissors. Save larger clean boxes if you have room. Introduce wood only when an adult can prepare smooth, suitable pieces and supervise the activity.
Choose tasks by the child’s current abilities, not an age label alone. Keep small pieces away from children who mouth objects. Adults handle cutting, drilling, hot tools, and finishes that require precautions. Follow product instructions for glues and materials.
The projects here are tabletop models and simple craft activities. They are not instructions for furniture, climbing structures, electrical devices, or anything expected to support a person.
Week one: learn what paper can do
Day 1 — Make a maker’s notebook. Fold paper into a small book. Draw something you would like to make and one thing you want it to do.
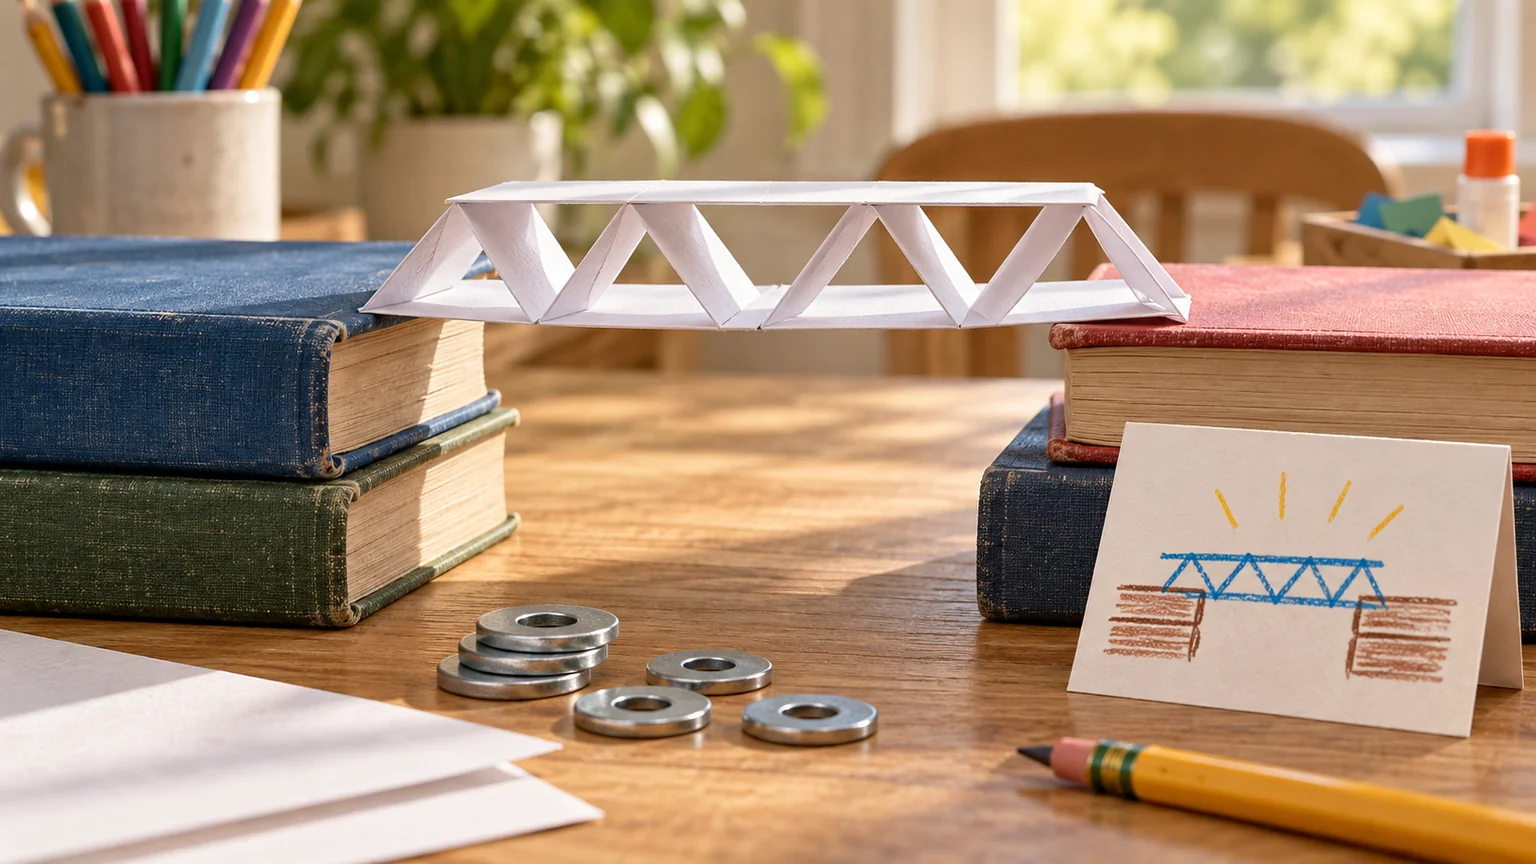
Day 2 — Fold two paper bridges. Try a flat sheet and a folded shape between two small supports. Compare what happens with a few light objects.
Day 3 — Build a standing shape. Make a triangle, cylinder, or folded tower. Notice which changes help it remain upright.
Day 4 — Design a paper room. Draw a room from above. Add paper furniture and leave a route through it.
Day 5 — Make a moving card. Explore a simple folded flap or slider. Keep the mechanism large enough to handle comfortably.
Day 6 — Invent a board game. Draw a path, write a few rules, and use suitable large objects as pieces.
Day 7 — Play, look back, and choose. Test the game. Record a rule you changed and a project you would like to revisit.
The point is comparison. Ask what changed between attempts rather than immediately announcing which version is best.
Week two: turn boxes into possibilities
Day 8 — Sort the materials. Group cardboard by thickness and size. Remove staples and unsuitable packaging before children handle it.
Day 9 — Make a model shelter. Use tape to assemble walls and a roof on a small base.
Day 10 — Add a doorway. An adult prepares difficult cuts. Test whether a paper figure can move through the opening.
Day 11 — Make a desk organizer. Arrange clean tubes or folded compartments for lightweight supplies.
Day 12 — Build a marble-free run. Use a large, age-appropriate rolling object and a short cardboard ramp. Avoid small choking hazards.
Day 13 — Repair an earlier model. Strengthen a loose connection or change something that was frustrating to use.
Day 14 — Hold a tiny exhibition. Let each maker explain a choice. Photograph the objects if you want to record them; sharing online is optional.
Week three: design something useful
Day 15 — Find a small problem. Look for a place that needs a label, a container, or a way to remember something.
Day 16 — Sketch two solutions. Compare them before choosing materials.
Day 17 — Measure the space. Record the dimensions and units. Check the measurement together.
Day 18 — Make a paper prototype. Try the idea at the intended size.
Day 19 — Prepare the pieces. An adult cuts any wood or difficult material. Cardboard remains a good alternative.
Day 20 — Assemble the project. Use a method suited to the material. Adults manage clamps or fasteners where needed.
Day 21 — Try it and adjust. Does it fit? Is it stable for its intended light-duty use? What is one improvement worth making?
A plain object that solves a real problem is a successful project. Decoration can follow function.
Week four: make something to give
Day 22 — Choose a recipient. Think about what that person might enjoy or use.
Day 23 — Ask or observe. Find out a preference instead of assuming everyone wants the same gift.
Day 24 — Plan the object. Keep it small: a handmade card, a decorated container, a drawing, or a simple display stand assembled by an adult.
Day 25 — Build the first version. Leave time for materials to set as directed.
Day 26 — Check the edges and details. An adult checks the object for sharp or loose parts and unsuitable materials.
Day 27 — Add a personal touch. Write a note, choose colors, or tell the story behind the design.
Day 28 — Give it thoughtfully. The recipient is free to use it in their own way.
Day 29 — Record the process. Draw the steps or describe them to someone who was not there.
Day 30 — Choose what comes next. Keep a favorite tool or material ready for another ordinary afternoon.
Help without taking over
Try three questions: What are you trying to make happen? What have you tried? Would you like an idea or a hand?
Sometimes the right help is a demonstration. Sometimes it is holding a piece still. Sometimes it is accepting a crooked result because the maker is satisfied and the object is safe for its intended use.
Stop while the activity still has room to be pleasant. Clean up together and leave a note about the next step. A project that resumes easily has a better chance of becoming a habit.
There is no need to promise better grades, fewer arguments, or a transformed family at the end of the month. A shared memory and a few more things your child knows how to try are enough to begin with.
Keep a good idea close.
Follow Command Post